Handling the Painful Side of Sewing
The Academy of Sewing > Handling the Painful Side of Sewing
for Plus-Size Senior Sewist
Handling the Painful Side of Sewing
A practical guide for plus-size senior sewists who want to keep sewing without paying for it the next day.
We Know Your Struggle
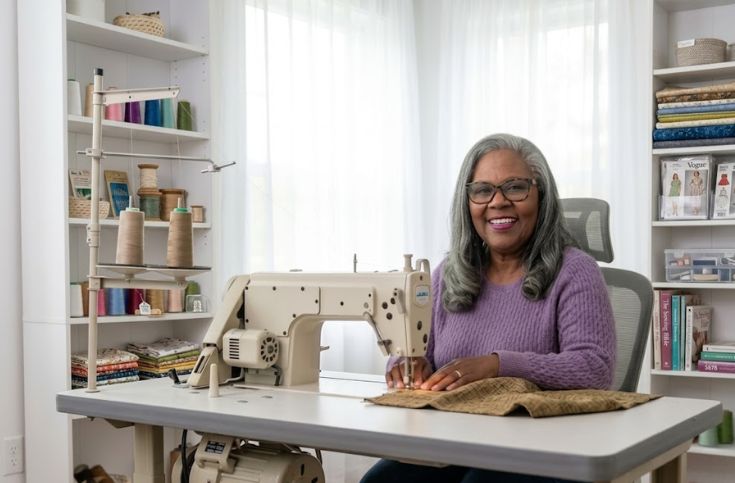
Are you a passionate senior sewist who finds joy in every stitch, yet dreads the inevitable aches and pains that follow? Do you constantly battle with a hunched posture over low tables, enduring persistent backaches and neck strain?
Perhaps you have grown weary of standard fitting advice that demands you twist and contort your body, leaving you frustrated and uncomfortable. The joy of creating should not come at the cost of your physical health.
You are not alone. Many dedicated sewists face these very challenges, sacrificing their comfort and well-being for their art.
Your Path to Comfortable, Accurate Sewing
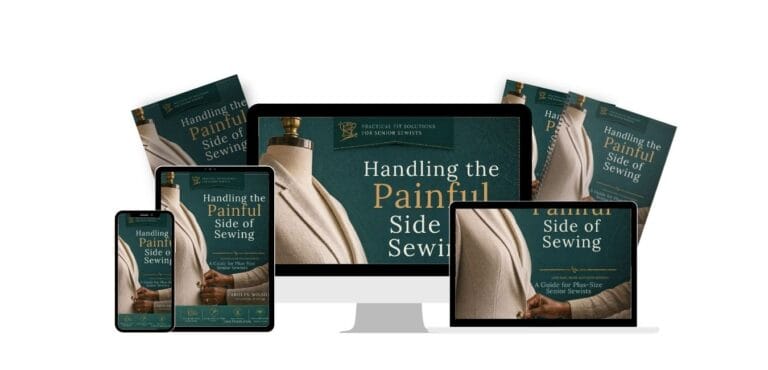
Introducing Handling the Painful Side of Sewing: A Guide for Plus-Size Senior Sewists, your essential companion to transforming your sewing experience. This groundbreaking digital book, authored by Carolyn Wilson of The Academy of Sewing, offers studio-tested shifts designed to help you continue doing what you love, without the physical toll.
1. The 90-Degree Rule
Discover the exact spatial alignment that forces your skeleton to support your weight, instantly turning off the back muscles that cause you pain. This foundational principle eliminates the need for your back to compensate for ill-fitting furniture, preventing pain before it starts.
2. The Seated Fitting Workflow
Revolutionize your fitting process. This workflow demonstrates exactly which fitting checks can be performed accurately while seated, minimizing standing time and maximizing comfort. It includes table-flat ease assessment and the Seated Pinch Test to guarantee real-world comfort in your final garments.
3. The Seated Pinch Test
A critical technique to assess garment ease while seated, accounting for natural body expansion. This ensures your creations fit perfectly, without restricting movement or breath, avoiding the common mistake of evaluating ease while standing.
What You Will Find Inside
Section 1: Setting Up for Success and Comfort
- Discover the 90-Degree Rule for optimal posture
- Implement the Comfort Zone Desktop for personalized workspace ergonomics
- The proprietary Radius Rule that permanently stops the repetitive reaching and twisting that aggravates your shoulders
- A simple studio lighting adjustment that instantly eliminates eye fatigue and unconscious neck craning
Section 2: The Seated Fitting Workflow
- Minimize standing time with effective seated evaluation techniques
- Utilize table-flat ease assessment for accurate garment sizing
- Apply the Seated Pinch Test for guaranteed comfort
Section 3: Visual Hacks
- The geometric mirror setup that eliminates torso-twisting while checking your sides and back
- A simple tech hack to capture perfectly accurate, unbiased back-views entirely by yourself, without twisting your spine
- A clever marking technique that lets you accurately map your own back and sides without a helper
Sections 4 & 5: The 30-Minute Reset and Knowing When to Stop
- Learn the 60-Second Reset to safely release tension in your neck, hands, and upper back
- Interrupt the pain cycle before it builds, ensuring sustained comfort
- Understand the signs of strain-induced decisions and protect your garments
Take Control of Your Comfort Today
Imagine sewing for hours, completely immersed in your passion, free from discomfort and pain. Envision creating garments that fit flawlessly, reflecting your skill and dedication.
Protect your body, extend your longevity in the art, and elevate your sewing accuracy.