Glamour Girl Rewind: How a Little Structure Solved My Fitting Puzzle
No Comments
Many of you remember the 80s as the decade of “more.” More hair, more color, and certainly more shoulder. But for those of us in our “Red Zone” years, sewing 80s style isn’t about wearing a costume. It’s about using internal structure to give a garment some backbone. If you are plus-sized, especially if you are fuller through the hips, those 80s-inspired silhouettes are actually a secret weapon for getting your proportions in balance.
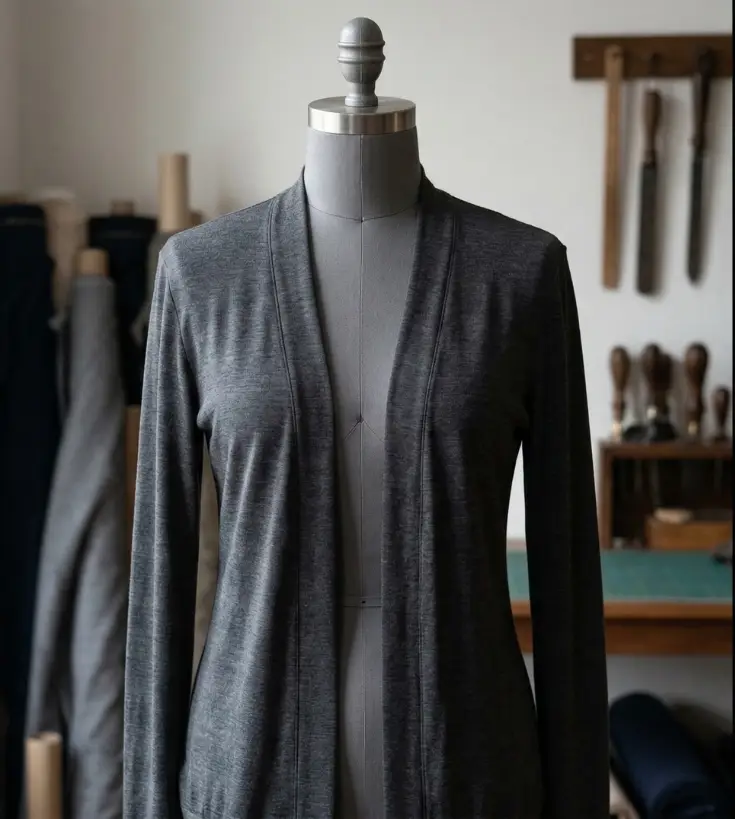
The Myth of “Soft” Dressing
The biggest mistake I see is reaching for “soft,” unstructured fabrics. On a fuller figure, those soft fabrics just collapse and cling to the very spots we’re trying to skim. If you want a professional finish, you have to stop being afraid of using structure.
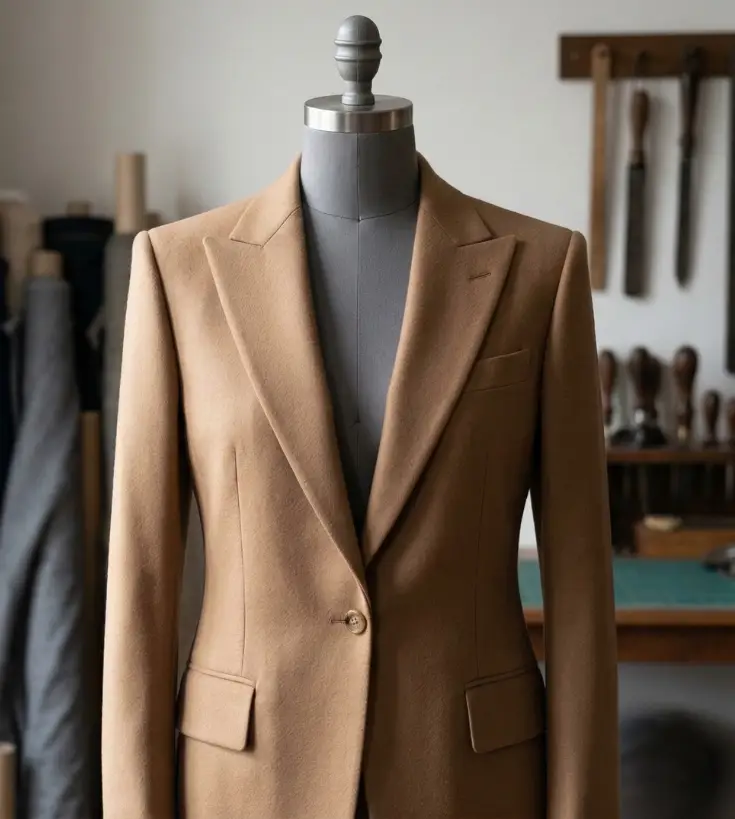
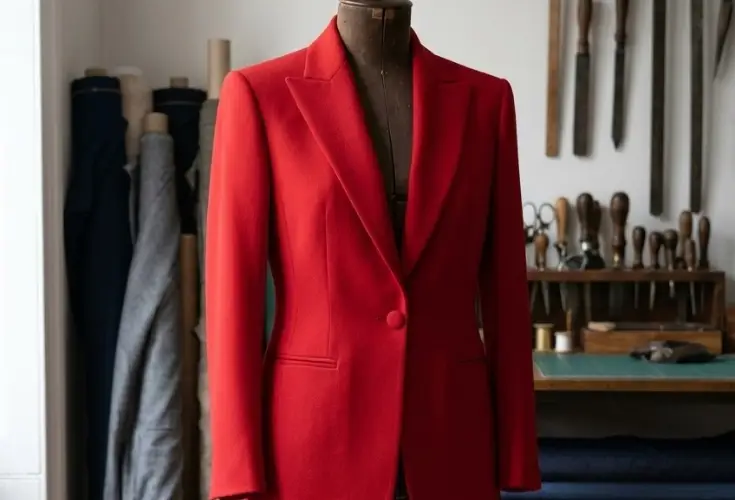
When we look at a classic Mugler or Armani jacket, the magic wasn’t in the shoulder pad alone; it was in the hymo and the pad stitching hidden inside the lapel. A jacket that actually fits a pear-shaped figure needs what I call a “T-frame”. By extending the shoulder line and reinforcing the chest with haircanvas, we create a visual balance. The width of your shoulder needs to match the width of your hip. If you don’t get that width right, the jacket is always going to look like it’s dragging you down rather than draping properly.
Engineering the Upper Body
To get that high-end 80s look without it looking like a costume, you have to focus on the internal support.
- Pad Stitching: This isn’t just for show. By pad stitching your hymo to the undercollar and lapel, you are training the fibers to hold a permanent roll and keep the jacket’s shape.
- The Power of the Sleeve Head: As we get older, we often need more room in the bicep, but the sleeve cap still needs to look crisp. Using wool wadding or a bias-cut strip of lambswool inside the sleeve head keeps it from collapsing. This maintains that clean, structured line that helps balance out a fuller lower body.
What Is Pad Stitching and Why Does It Matter
Pad stitching is a hand-sewing technique that attaches the canvas interfacing to the outer fabric of a jacket through small, diagonal stitches. The stitches never penetrate to the right side of the fabric. What they do is train the canvas and fabric to roll and curve together as one. A jacket without pad stitching is flat. A jacket with pad stitching has shape that holds itself up.
How Pad Stitching Works in a Jacket
You pad stitch the lapel and the collar canvas to the outer fabric, working in rows that follow the roll line of the lapel. The smaller the stitch, the firmer the result. Larger stitches give a softer roll. You are not just attaching two layers. You are building the permanent curve of the lapel directly into the fabric so it holds that shape every time you wear the garment.
Why Plus-Size Sewists Need Pad Stitching More Than Anyone
A fuller figure carries more visual weight through the hip and lower body. The jacket has to answer that with equal structure through the upper body or it will look like it is dragging down rather than sitting properly. Pad stitching through the chest and lapel builds that upper body authority into the garment. Without it the jacket collapses forward and the whole silhouette falls apart. This is not about camouflage. It is about building a garment that is structurally equal to the body wearing it.
What Is Hymo and Where Does It Go
Hymo is a hair canvas interfacing made from a blend of wool and goat hair. It is the traditional material used to interface the chest and front of a tailored jacket. It goes between the outer fabric and the lining, covering the chest from the shoulder seam down past the bust point. Because it is woven with animal fiber it has a natural memory and will shape itself to your body over time. Fusible interfacing does not do this. Hymo is what gives a high-end jacket its chest.
The Sleeve Head: Why It Collapses and How to Fix It
The sleeve head is the top curve of the sleeve cap where it meets the armhole. On a plus-size frame the upper arm is fuller, which puts more pressure on that curve from inside. Without support the sleeve cap flattens and the shoulder line loses its shape. The fix is a sleeve head pad, a small strip of wool wadding or a bias-cut piece of lambswool hand-stitched inside the sleeve cap at the seam allowance. It is not padding the shoulder. It is supporting the sleeve so the cap keeps its roll and the shoulder line stays crisp.
The Red Zone Reality: Fit vs. Measurement
You can follow a commercial pattern to the letter, grading out three sizes at the hip, and still end up with a garment that “breaks” at the waist or pulls across the back. This is the “Red Zone” the point where standard flat-pattern adjustments fail because they don’t account for the 3D shape of your body.
This is where The Master Blueprint for Garment Fitting works better than a standard pattern. While standard patterns just guess at your proportions, The Master Blueprint for Garment Fitting fixes these balance issues before you even touch your good fabric. It accounts for how a woman’s body actually carries weight, ensuring those bold 80s lines sit exactly where they belong.
Mastery Over Material
When you’re working with the heavy wools and crepes needed for these looks, you can’t just “pin and pray”. You have to treat the fabric with respect, you’re building a structure out of cloth. My goal with this “Glamour Girl Rewind” is to take that 80s confidence and combine it with the technical skills we’ve spent years perfecting. We aren’t making clothes to hide in; we’re creating a silhouette that shows you’re still the most interesting person in the room.
Ready to get the fit you deserve? Join The Master Blueprint for Garment Fitting waitlist today to learn how to solve your “Red Zone” fit issues and start sewing clothes that actually balance your frame.